


Sediment in a reservoir is wasted product, extra cleaning, and one more way your feed can get inconsistent. This checklist keeps the focus where it belongs: reducing buildup, keeping lines cleaner, and helping every batch mix the way it should.
Key Takeaways
- Start with a clean tank before changing nutrients, products, or equipment.
- Add nutrients into moving water, one product at a time.
- Follow the label’s mixing order and avoid combining concentrates before dilution.
- Keep the bottom of the reservoir moving, not just the surface.
- Flush hoses, clean pump intakes, and shorten hold times to reduce buildup.
You do not need another science lecture every time sediment shows up in the reservoir.
You need a practical reset.
This guide is a step-by-step checklist for reducing sediment in a nutrient tank. It is written for growers who already know the problem: nutrients settle, the tank gets dirty, lines get clogged, and the mix becomes less consistent than it should be.
If you want the deeper explanation of why it happens, read Why Do Nutrients Settle at the Bottom of a Feed Tank?. If you want the bigger tank-mixing strategy, start with the Nutrient Mixing + Aeration Guide.
Start With the Fast Sediment Check
Before you change your whole routine, identify where the sediment is showing up.
Bottom of Tank
Usually points to weak bottom movement, heavy inputs, poor mixing time, or solution sitting too long.
Hoses and Lines
Usually points to residue left in the line, dirty fittings, old solution, or particles being pulled from the tank.
Cloudy Solids
May point to water chemistry, pH, mixing order, or nutrient precipitation.
Do not treat every sediment problem the same. If the tank bottom is dirty, start with mixing and cleaning. If solids appear after products are added, check order, pH, water quality, and compatibility.
Simple rule: fix the process before blaming the product.
Step 1: Reset the Reservoir
Do not try to solve sediment in a dirty tank. Old residue can break loose into the next batch and make it look like your new mix is the problem.
Start with a clean baseline.
- Drain the old solution fully.
- Remove sediment from the bottom.
- Spray down tank walls, corners, and the waterline.
- Scrub slick spots and buildup.
- Rinse loosened residue out of the tank.
- Flush hoses with clean water.
- Check pump intake screens, fittings, valves, and wands.
If the tank smells, feels slimy, or keeps shedding old gunk, use the full cleaning checklist: Cleaning 101: Keeping Tanks, Hoses, and Pumps from Getting Funky.
Step 2: Check the Water Before You Mix
Water quality can make sediment worse. Hard water, high alkalinity, high starting EC, or untreated source water can all change how nutrients behave.
Before mixing, check:
- Starting pH
- Starting EC or PPM
- Water temperature
- Hardness or mineral content if available
- Alkalinity if sediment and pH drift keep repeating
- Chlorine or chloramine if you use microbial products
You do not need to test every possible thing every time. But if sediment keeps coming back, your water source deserves a closer look.
Step 3: Start Mixing Before Adding Nutrients
Nutrients should enter moving water, not a still reservoir.
Starting the mixer first helps each input spread before it sinks, clumps, or collects in one part of the tank. This is especially important with powders, thick liquids, organic inputs, and larger tanks.
Better habit: water first, movement second, nutrients third.
Watch the bottom of the tank. If the surface is moving but the bottom is still collecting material, the reservoir needs better mixing, better pump placement, longer mix time, or a different setup.
Step 4: Add One Product at a Time
Adding everything at once is a fast way to create a dirty batch.
A cleaner process looks like this:
- Add the first product into moving water.
- Let it disperse.
- Watch for clumps, clouding, or material dropping out.
- Add the next product only after the first has mixed through.
- Repeat until the recipe is complete.
This slows the process slightly, but it can save you from wasted nutrients, clogged screens, dirty hoses, and a tank that needs extra cleaning after every batch.
Step 5: Follow the Mixing Order
Mixing order matters. Some products do not play nicely together in concentrated form, and some inputs should be fully diluted before others are added.
Use the order listed on the nutrient label. If the nutrient line uses Part A and Part B, follow the manufacturer’s instructions closely. Do not mix concentrated products together in a cup, measuring container, or small volume of water unless the label specifically says to do it.
Watch for these warning signs:
- Cloudiness right after adding a product
- Fine white solids forming
- Clumps that do not break down
- Residue that appears only after two products are combined
- Sudden pH or EC behavior that does not match the normal pattern
If the solids look chemical instead of physical, read What Is Nutrient Precipitation and How Do You Avoid It?.
Step 6: Give Powders and Thick Inputs More Time
Not every nutrient dissolves or disperses at the same speed.
Dry nutrients, powders, organic inputs, and thicker additives usually need more patience. If you add them and feed right away, some material may still be dropping through the tank instead of staying suspended in the mix.
For stubborn inputs:
- Add slowly.
- Mix longer.
- Check the bottom before feeding.
- Use warmer water only if the product label allows it.
- Pre-dissolve only if the product instructions allow it.
- Avoid overloading the tank with more product than the water volume can carry.
The goal is not to punish the tank with more force. The goal is to give each input the right conditions to actually mix.
Step 7: Test After the Tank Is Mixed
Testing too early can create false alarms.
If nutrients are still dissolving, settling, or moving unevenly through the tank, your pH and EC readings may not represent the full reservoir.
Use this testing order:
- Mix the solution fully.
- Let it circulate long enough to become consistent.
- Take a sample from a representative location.
- Measure EC or PPM.
- Measure pH.
- Adjust slowly if needed.
- Retest after the adjustment has mixed through.
If pH or EC readings change depending on where you sample, the tank is not mixed well enough yet.
Step 8: Keep the Bottom Moving
Sediment lives at the bottom, so the bottom is where the fix has to work.
Surface ripples can make a tank look active while the lower zone stays lazy. That is how sludge builds up in corners, around pump intakes, and along the floor of the reservoir.
Improve bottom movement by checking:
- Pump placement
- Direction of flow
- Tank shape and corners
- Dead zones behind fittings or supports
- Whether the pump is sized for the tank volume
- Whether the liquid is too heavy for the current setup
If material collects in the same place every time, that area needs more attention.
Step 9: Do Not Let the Mix Sit Too Long
Mixed nutrient solution changes as it sits.
Particles can fall out. Temperature can shift. pH can drift. Oxygen levels can change. Organic inputs can get funky faster than plain mineral solution.
To reduce waste:
- Mix closer to feeding time when possible.
- Avoid storing mixed solution longer than the nutrient label recommends.
- Keep the tank moving if the routine calls for it.
- Check the tank before feeding if it sat overnight.
- Do not feed from a stale, smelly, or visibly separated batch.
If your routine depends on timed mixing or repeated cycles, use the schedule as part of the system. Long still periods can undo a clean mix.
Step 10: Flush Lines After Feeding
Sediment does not only sit in the reservoir. It can hide in hoses, valves, wands, filters, screens, and fittings.
After feeding nutrient solution, flush the line with clean water when practical. This helps move leftover material out before it dries, sticks, or turns into the next clog.
Pay special attention to:
- Hose ends
- Ball valves
- Watering wands
- Reducers and adapters
- Pump intake screens
- Filter screens
- Low spots in hose runs
If the water starts strong and then slows, the issue may be line buildup, not the tank mix itself.
Step 11: Track What Changed
Sediment problems are easier to solve when you know what changed before they started.
Keep a short note of:
- Water source
- Tank volume
- Nutrient line and dose
- Mixing order
- Mixing time
- Water temperature
- pH and EC after mixing
- How long the batch sat before feeding
- Where sediment appeared
You do not need a giant spreadsheet. A quick note can help you spot the pattern before you waste another batch.
The Sediment Reduction Checklist
Use this as the quick workflow before your next batch.
Before Mixing
- Start with a clean reservoir.
- Flush hoses and check fittings.
- Inspect the pump intake and screen.
- Check starting water pH and EC if sediment has been a repeat problem.
- Confirm the nutrient mixing order.
During Mixing
- Start water movement before adding nutrients.
- Add one product at a time.
- Let each product disperse before adding the next.
- Watch the bottom of the tank, not just the surface.
- Mix longer for powders, cold water, or thicker inputs.
Before Feeding
- Check for visible sediment or clumps.
- Test pH and EC after the solution is mixed.
- Make slow adjustments if needed.
- Retest after adjustments circulate.
- Feed before the batch sits too long.
After Feeding
- Flush hoses with clean water.
- Drain leftover solution from lines.
- Rinse the pump intake area.
- Remove sediment from the tank bottom.
- Clean before residue dries onto surfaces.
What to Do If Sediment Still Shows Up
If you followed the checklist and sediment still shows up, narrow it down.
| What You See | Likely Next Step | Where to Look Deeper |
|---|---|---|
| Material collects in the same tank corner | Improve bottom movement or change pump placement. | Mixing vs. Circulation vs. Agitation |
| Fine solids appear after certain products combine | Check mixing order, pH, water quality, and product compatibility. | Nutrient Precipitation Guide |
| Slime, smell, or old residue keeps returning | Deep clean the tank, hoses, pump, fittings, and valves. | Cleaning 101 |
| EC readings vary by sample location | Mix longer and improve circulation through the full reservoir. | Nutrient Mixing + Aeration Guide |
| Sediment gets worse in cold conditions | Mix longer, add slower, and check product storage and label guidance. | Why Nutrients Settle |
Common Mistakes That Waste Nutrients
Starting with a dirty tank
Old residue makes a new batch dirty before it has a chance. Clean the reservoir before troubleshooting the nutrient line.
Dumping products into still water
Nutrients need movement to disperse. Start mixing first, then add products slowly.
Mixing concentrates together
Concentrated nutrients can react before they are diluted. Add products to the tank one at a time unless the label says otherwise.
Testing too soon
Early readings can make you chase pH or EC before the solution is actually mixed.
Ignoring the bottom of the tank
Sediment collects where movement is weakest. Surface movement alone does not prove the tank is mixed.
Letting mixed solution sit too long
If the batch sits still for too long, particles can settle and the solution can change before feeding.
When Better Mixing Equipment Matters
A spoon, stick, or quick hand stir may be enough for a small bucket. It is not always enough for a larger feed tank, heavier inputs, or a routine that needs repeatable results.
Better mixing becomes more important when:
- You mix larger batches.
- You use organic or thicker inputs.
- Sediment keeps collecting at the bottom.
- You need more consistent pH and EC readings.
- You feed through hoses, pumps, wands, or lines.
- You want fewer clogs and cleaner tank resets.
The goal is not to make the tank look busy. The goal is to keep the solution moving where sediment normally collects.
Ready to reduce bottom-of-tank waste?
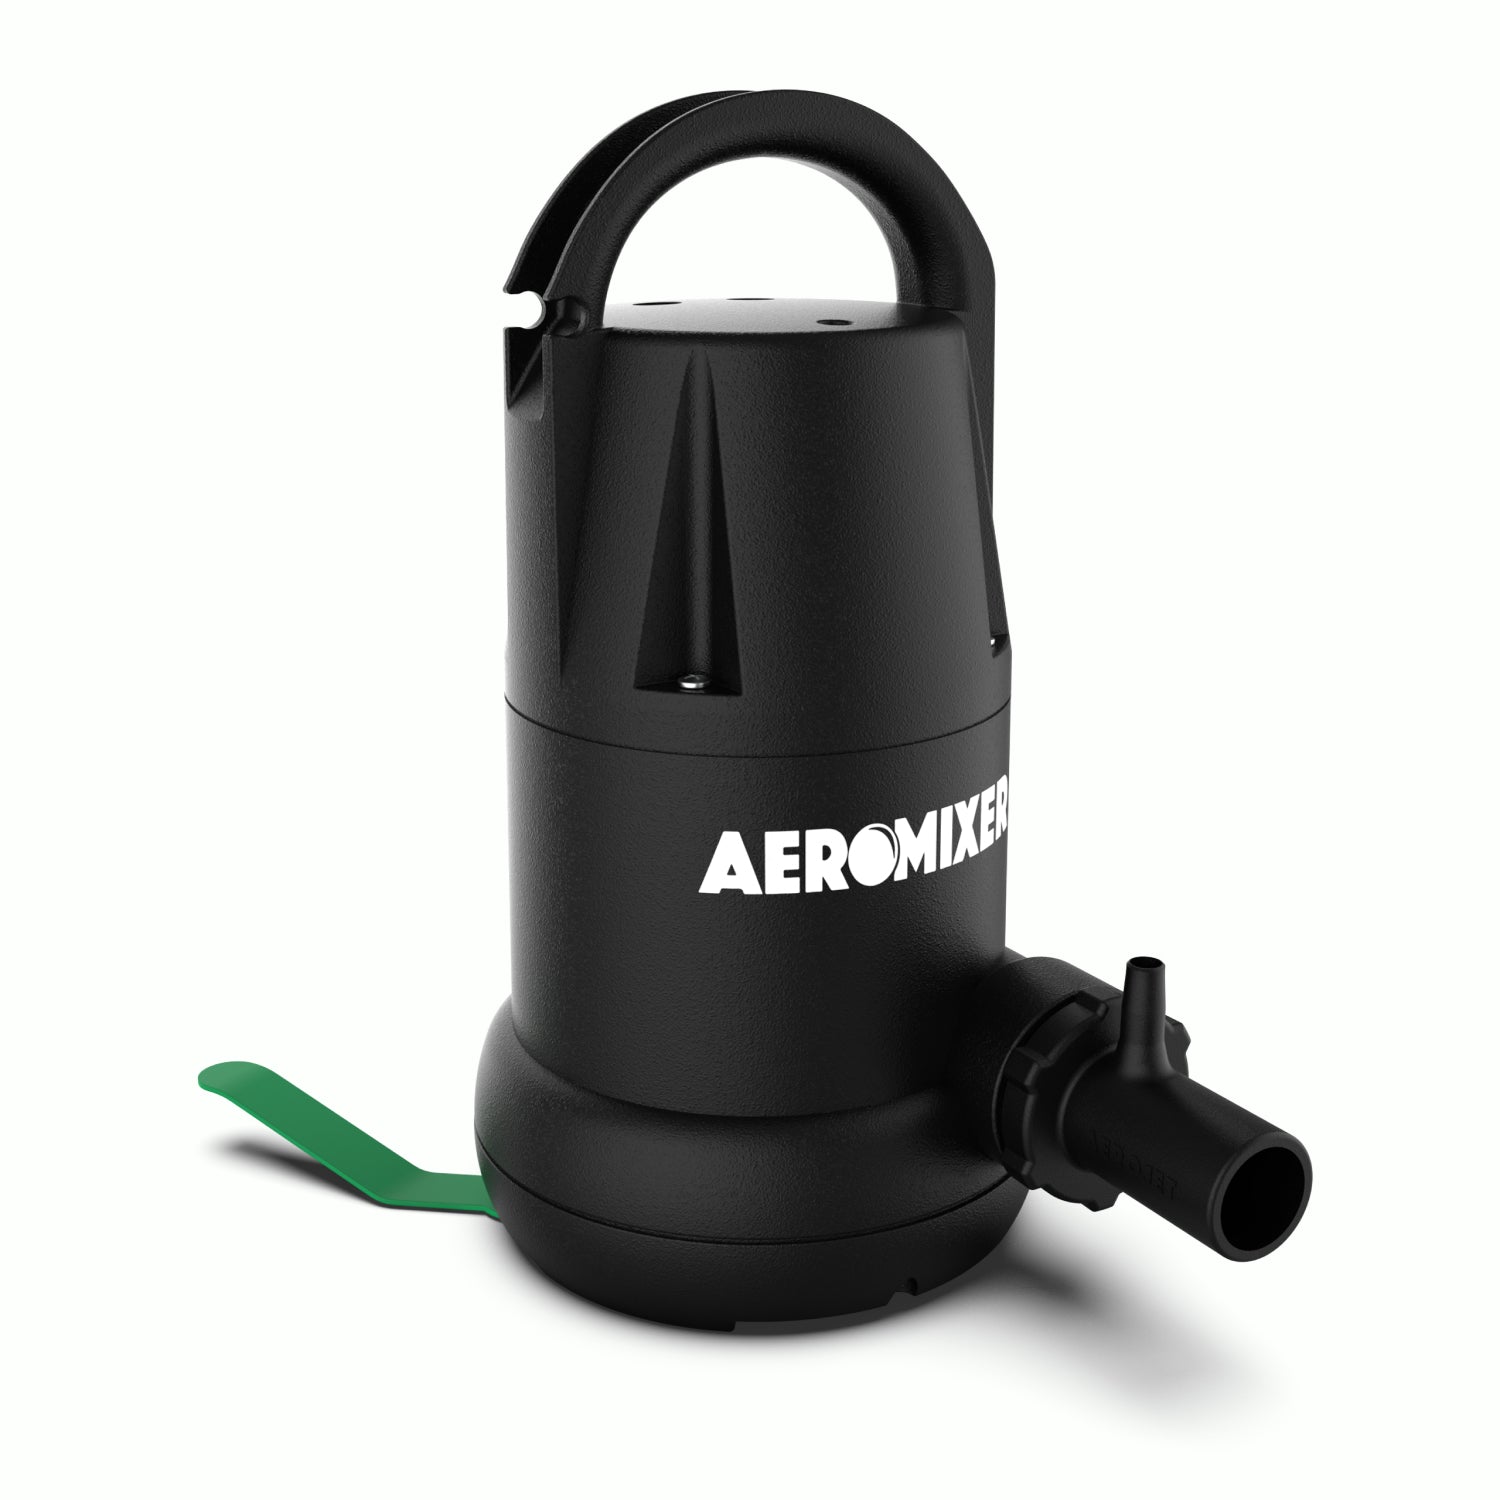
If your next step is better mixing and aeration, the most relevant product hub is the Aeromixer hub. Aeromixer is built to mix + aerate feeding solutions with one pump, helping keep nutrients suspended and reducing the sludge routine at the bottom of the reservoir.
Explore the Mixers HubQuick FAQ
How do I stop sediment in a nutrient tank?
Start with a clean tank, begin mixing before adding nutrients, add one product at a time, follow the proper mixing order, keep the bottom moving, test after the solution is mixed, and flush hoses after feeding.
Why are nutrients collecting at the bottom of my reservoir?
Nutrients may collect because of weak mixing, poor bottom movement, cold water, heavy inputs, dirty equipment, hard water, pH issues, or nutrient compatibility problems.
Can sediment clog pumps and hoses?
Yes. Sediment can collect on pump intakes, screens, fittings, valves, hoses, and watering tools. That can reduce flow and make the system harder to clean.
Should I mix nutrients longer?
If sediment appears right after mixing or EC readings vary by location, longer mixing may help. Also check pump placement, bottom movement, water temperature, and the order products are added.
Is sediment the same as nutrient precipitation?
Not always. Sediment can be physical material that settles out. Precipitation is a chemical reaction where dissolved nutrients form solids. If solids keep forming after products are added, check the precipitation guide.
How do I keep nutrient lines cleaner?
Reduce sediment at the source, flush hoses after feeding, drain leftover solution from lines, clean fittings and valves, and inspect pump intake screens regularly.
The Takeaway
Stopping wasted nutrients starts with a cleaner, more repeatable mixing routine.
Clean the reservoir. Start mixing before nutrients go in. Add products one at a time. Follow the label. Watch the bottom. Test after the tank is mixed. Feed before the batch sits too long. Flush the lines when you are done.
Those steps help reduce sediment, keep lines cleaner, protect pump flow, and make each batch more consistent.
Keep learning with the full Nutrient Mixing + Aeration Guide, or build a better reservoir routine with Aeromixer.